How to Make Windows Feel Like Mac for Development
April 10, 2026
You can make Windows feel like Mac for development by installing five things: WSL2, Windows Terminal with Oh My Posh, PowerToys, Scoop, and a dotfiles bootstrap script. This replicates about 90% of the macOS developer experience. I switched from a MacBook Pro to Windows in 2024 and have not looked back. Here is the exact setup.
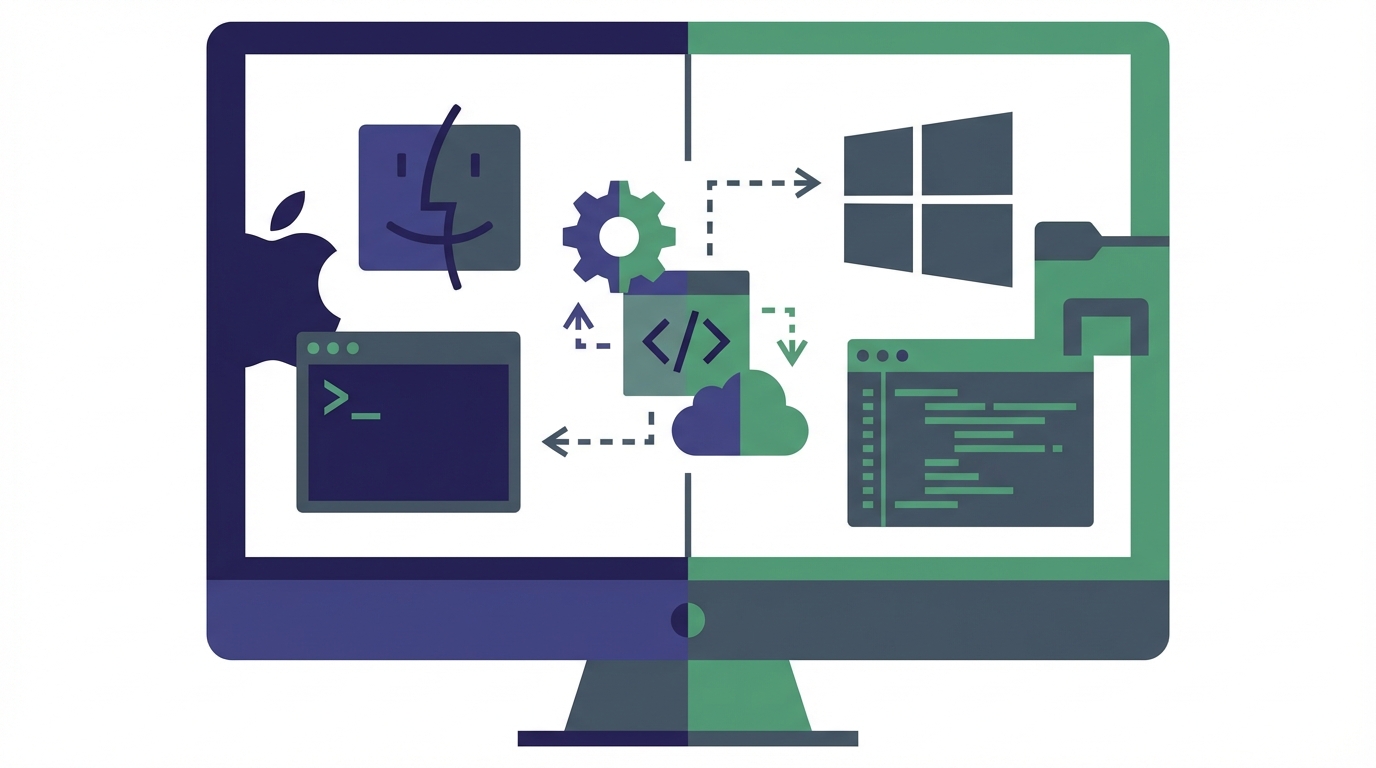
The Mac-to-Windows Equivalents Map#
Before installing anything, you need the mental model. Every tool you rely on in macOS has a Windows counterpart that works at least as well. Some work better.
The mapping is not perfect. Font rendering on Windows still uses ClearType subpixel hinting, which looks different from macOS's grayscale anti-aliasing. Some people never adjust. I stopped noticing after two weeks.
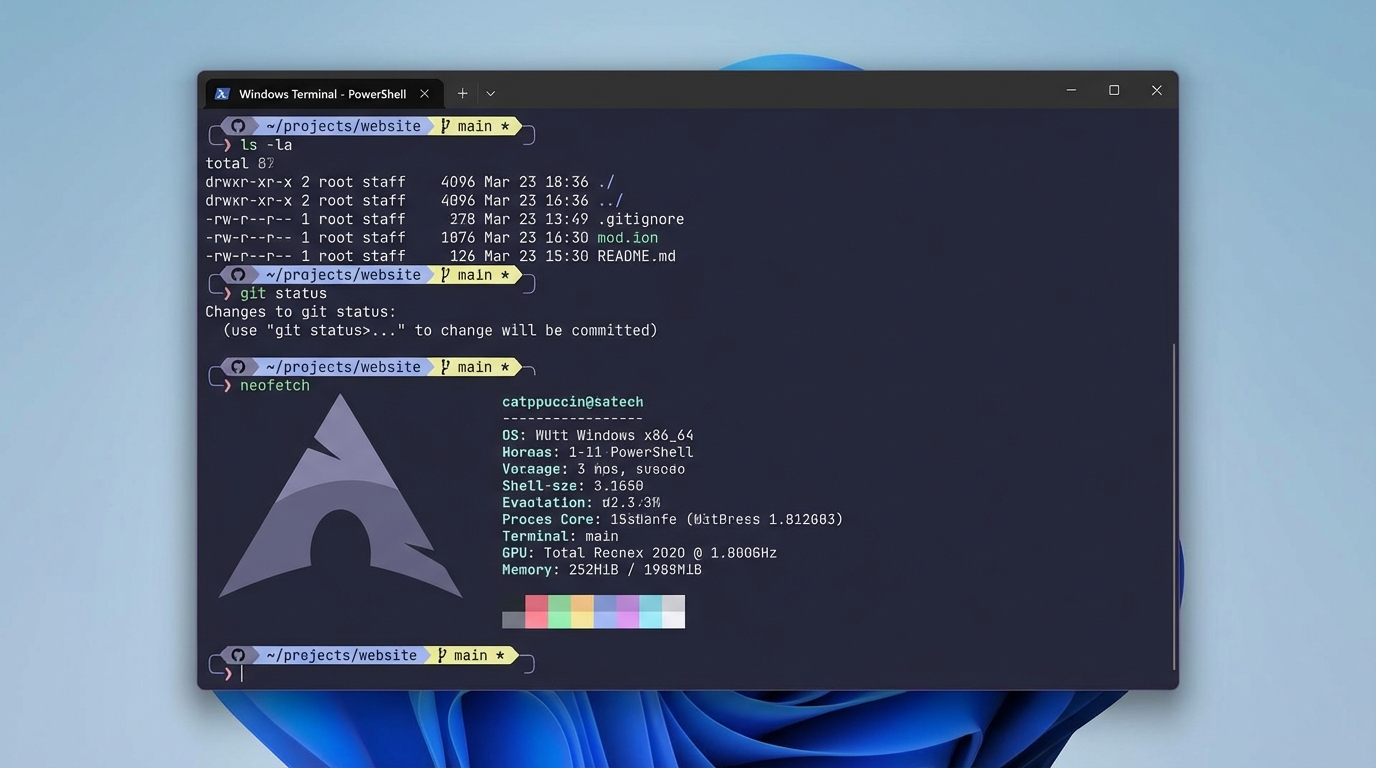
Your Terminal Is the Biggest Win#
The default PowerShell prompt is ugly and uninformative. That is not the terminal you will use. After 10 minutes of setup, you get something that rivals any macOS terminal.
Start with Scoop to install the dependencies:
irm get.scoop.sh | iex
scoop bucket add extras
scoop bucket add nerd-fonts
scoop install FiraCode-NF
scoop install oh-my-posh
Then add this to your PowerShell profile ($PROFILE):
oh-my-posh init pwsh --config "$env:POSH_THEMES_PATH/catppuccin_mocha.omp.json" | Invoke-Expression
Set-PSReadLineOption -PredictionSource History
Set-PSReadLineOption -EditMode Emacs
Set-PSReadLineKeyHandler -Key Tab -Function MenuComplete
Set-Alias -Name open -Value Start-Process
Set-Alias -Name pbcopy -Value Set-Clipboard
Set-Alias -Name pbpaste -Value Get-Clipboard
Three things matter here. The EditMode Emacs line gives you Ctrl+A/Ctrl+E line navigation that matches macOS terminal behavior. The aliases for open, pbcopy, and pbpaste mean your muscle memory from Mac just works. And Catppuccin Mocha is the community standard theme with 180+ prompt segments available.
I tried Starship first. Oh My Posh is the better choice on Windows because it was built for PowerShell from day one. Starship works, but you will hit edge cases with Windows path handling that Oh My Posh already solved.
Remap Your Muscle Memory with PowerToys#
The biggest friction when switching from Mac is keyboard shortcuts. On macOS, Cmd is the primary modifier. On Windows, it is Ctrl, but Ctrl sits where Option/Alt does on a Mac keyboard. Your fingers will fight you for weeks.
PowerToys Keyboard Manager fixes this in one remap: Left Alt to Left Ctrl. This makes Alt+C trigger Ctrl+C, Alt+V trigger Ctrl+V, and so on. Your thumb hits the same physical key it always did.
Beyond remapping, PowerToys gives you three tools that replace paid Mac apps:
- FancyZones replaces Rectangle for window tiling (hold Shift while dragging to activate zones)
- PowerToys Run (Alt+Space) replaces Spotlight/Alfred for app launching and quick calculations
- Color Picker (Win+Shift+C) replaces the macOS Digital Color Meter
Tip: Install PowerToys via WinGet: winget install Microsoft.PowerToys. It auto-updates and runs at startup without configuration.PowerToys is free, open source, and maintained by Microsoft. As of 2026 it ships 25 utilities. Most developers only need the three above.
WSL2 Gives You Real Unix#
WSL2 runs a genuine Linux kernel, not a POSIX compatibility layer. Docker containers, shell scripts, and CLI tools all work exactly as they would on a Mac's terminal. The practical difference from macOS is zero for web development.
One rule you must follow: keep projects on the Linux filesystem. Store code in ~/projects/ inside WSL2, not in /mnt/c/Users/you/. Cross-filesystem I/O drops to roughly 40% of native speed. For a React project with 50,000 files in node_modules, that means the difference between a 3-second and 15-second cold start. I wrote about this trap in detail in The Best Windows Development Tools in 2026.
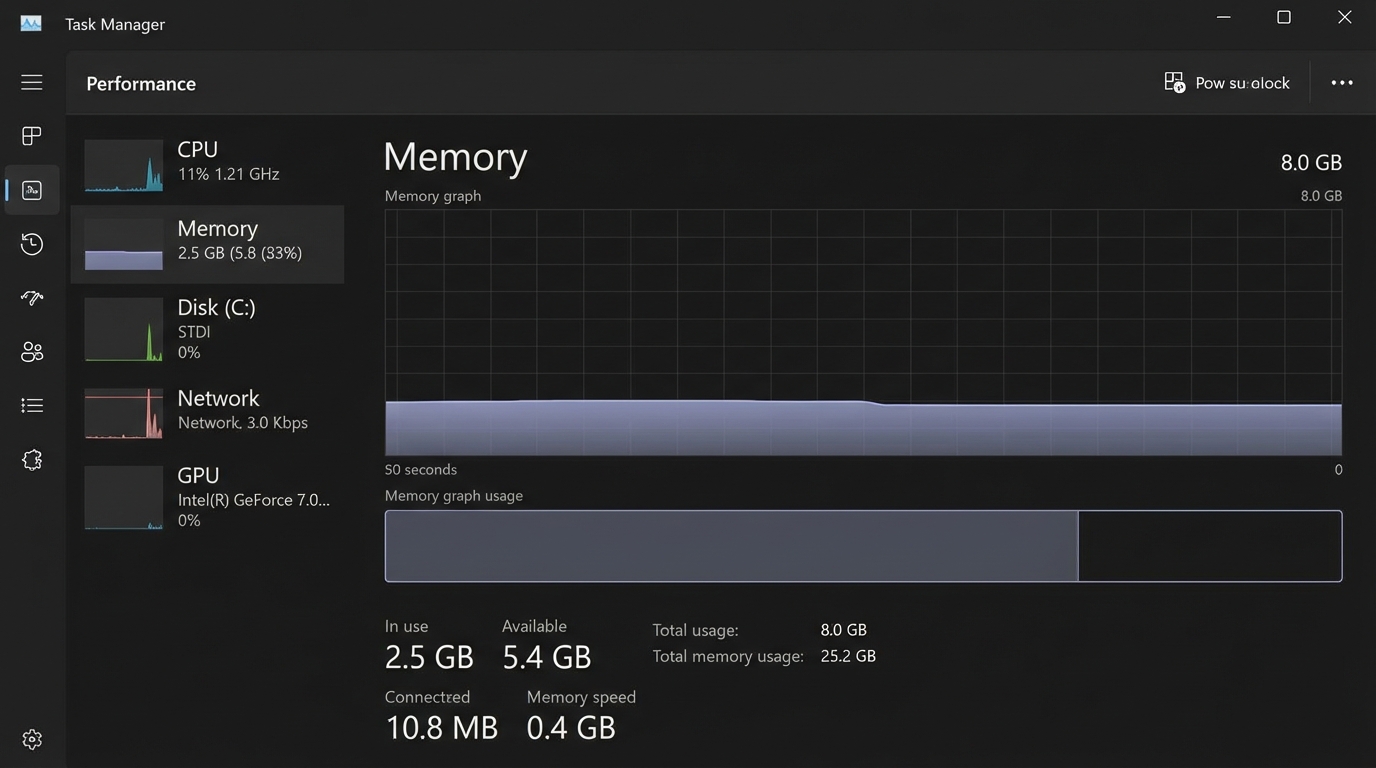
Docker Desktop integrates with WSL2 natively since 2023, but it will eat your RAM without limits. Add a .wslconfig file to your Windows user directory:
[wsl2]
memory=8GB
processors=4
swap=4GB
localhostForwarding=true

[experimental]
sparseVhd=true
autoMemoryReclaim=gradual
The autoMemoryReclaim=gradual line is the important one. Without it, WSL2 allocates memory but never releases it back to Windows. With it, unused memory returns to the host over time.
Package Managers That Actually Work#
Mac developers take Homebrew for granted. On Windows, you need two package managers that split the job cleanly.
Scoop handles CLI tools. It installs to ~/scoop/ with no admin privileges, no UAC prompts, no PATH pollution. It is the closest thing to Homebrew's philosophy on Windows.
scoop install git curl wget jq fzf ripgrep bat eza delta
Every tool in that list is one I use daily. ripgrep and fzf alone are worth the install. If you are not familiar with these, check Best CLI Tools for Mac, Linux, and Windows and 20 CLI Tools You're Not Using Yet.
WinGet handles GUI applications. It ships with Windows 11 and connects to a registry of over 8,000 packages.
winget install Microsoft.WindowsTerminal
winget install Microsoft.PowerToys
winget install Microsoft.VisualStudioCode
winget install Docker.DockerDesktop
The split is simple: if it has a GUI, use WinGet. If it is a CLI tool, use Scoop.
The One-Script Setup#
Everything above fits into a single bootstrap script you can run on a fresh Windows install. Clone your dotfiles repo and execute:
# bootstrap.ps1
# Run in elevated PowerShell for initial setup

# 1. Install Scoop (no admin needed)
irm get.scoop.sh | iex
scoop bucket add extras
scoop bucket add nerd-fonts

# 2. CLI tools via Scoop
scoop install git curl wget jq fzf ripgrep bat eza delta
scoop install FiraCode-NF
scoop install oh-my-posh

# 3. GUI apps via WinGet
winget install Microsoft.WindowsTerminal --accept-package-agreements
winget install Microsoft.PowerToys --accept-package-agreements
winget install Microsoft.VisualStudioCode --accept-package-agreements
winget install Docker.DockerDesktop --accept-package-agreements

# 4. WSL2
wsl --install -d Ubuntu

# 5. PowerShell profile
$profileContent = @'
oh-my-posh init pwsh --config "$env:POSH_THEMES_PATH/catppuccin_mocha.omp.json" | Invoke-Expression
Set-PSReadLineOption -PredictionSource History
Set-PSReadLineOption -EditMode Emacs
Set-PSReadLineKeyHandler -Key Tab -Function MenuComplete
Set-Alias -Name open -Value Start-Process
Set-Alias -Name pbcopy -Value Set-Clipboard
Set-Alias -Name pbpaste -Value Get-Clipboard
'@
New-Item -Path (Split-Path $PROFILE) -ItemType Directory -Force
Set-Content -Path $PROFILE -Value $profileContent

# 6. WSL memory config
$wslConfig = @'
[wsl2]
memory=8GB
processors=4
swap=4GB
localhostForwarding=true

[experimental]
sparseVhd=true
autoMemoryReclaim=gradual
'@
Set-Content -Path "$env:USERPROFILE\.wslconfig" -Value $wslConfig

Write-Host "Done. Restart Windows Terminal to see changes."
This takes about 15 minutes on a decent connection. After a reboot, you have a development environment that feels like macOS but runs on hardware you actually chose.
The one thing this will not fix is iOS development. That still requires a Mac. For everything else, including React Native via Expo, this setup works. Put your bootstrap script in a dotfiles repo, and your next machine setup takes 15 minutes instead of a full day.
Grab the script, run it, and start building.